Note
Go to the end to download the full example code.
Low-code Development
Important
The new AgentScope low-code development platform is coming soon. Starting from version 0.1.5, the existing workstation code will be removed from the main repository, and the following features will be unavailable.
This tutorial introduces how to build multi-agent application with drag-and-drop interface in AgentScope Workstation.
Workstation
The workstation is now integrated in agentscope-studio. It provides zero-code users with a much easier way to build multi-agent applications.
Note
Workstation is under active development, and the interface may change in the future.
Staring Workstation
First ensure you have installed the latest version of AgentScope.
Launch AgentScope Studio to start the workstation by executing the following python code:
import agentscope
agentscope.studio.init()
Or run the following bash command in the terminal:
as_studio
Then visit AgentScope Studio at https://127.0.0.1:5000, and enter Workstation by clicking the workstation icon in the sidebar.
Central workspace: The main area where you can drag and drop components
to build your application.
Top toolbox: To import, export, check, and run your application.

Explore Built-in Examples
For beginners, we highly recommend starting with the pre-built examples to get started. You have the option to directly click on an example to import it into your central workspace. Alternatively, for a more structured learning experience, you can opt to follow along with the tutorials linked to each example. These tutorials will walk you through how each multi-agent application is built on AgentScope Workstation step-by-step.
Build Your Application
To build an application, following these steps:
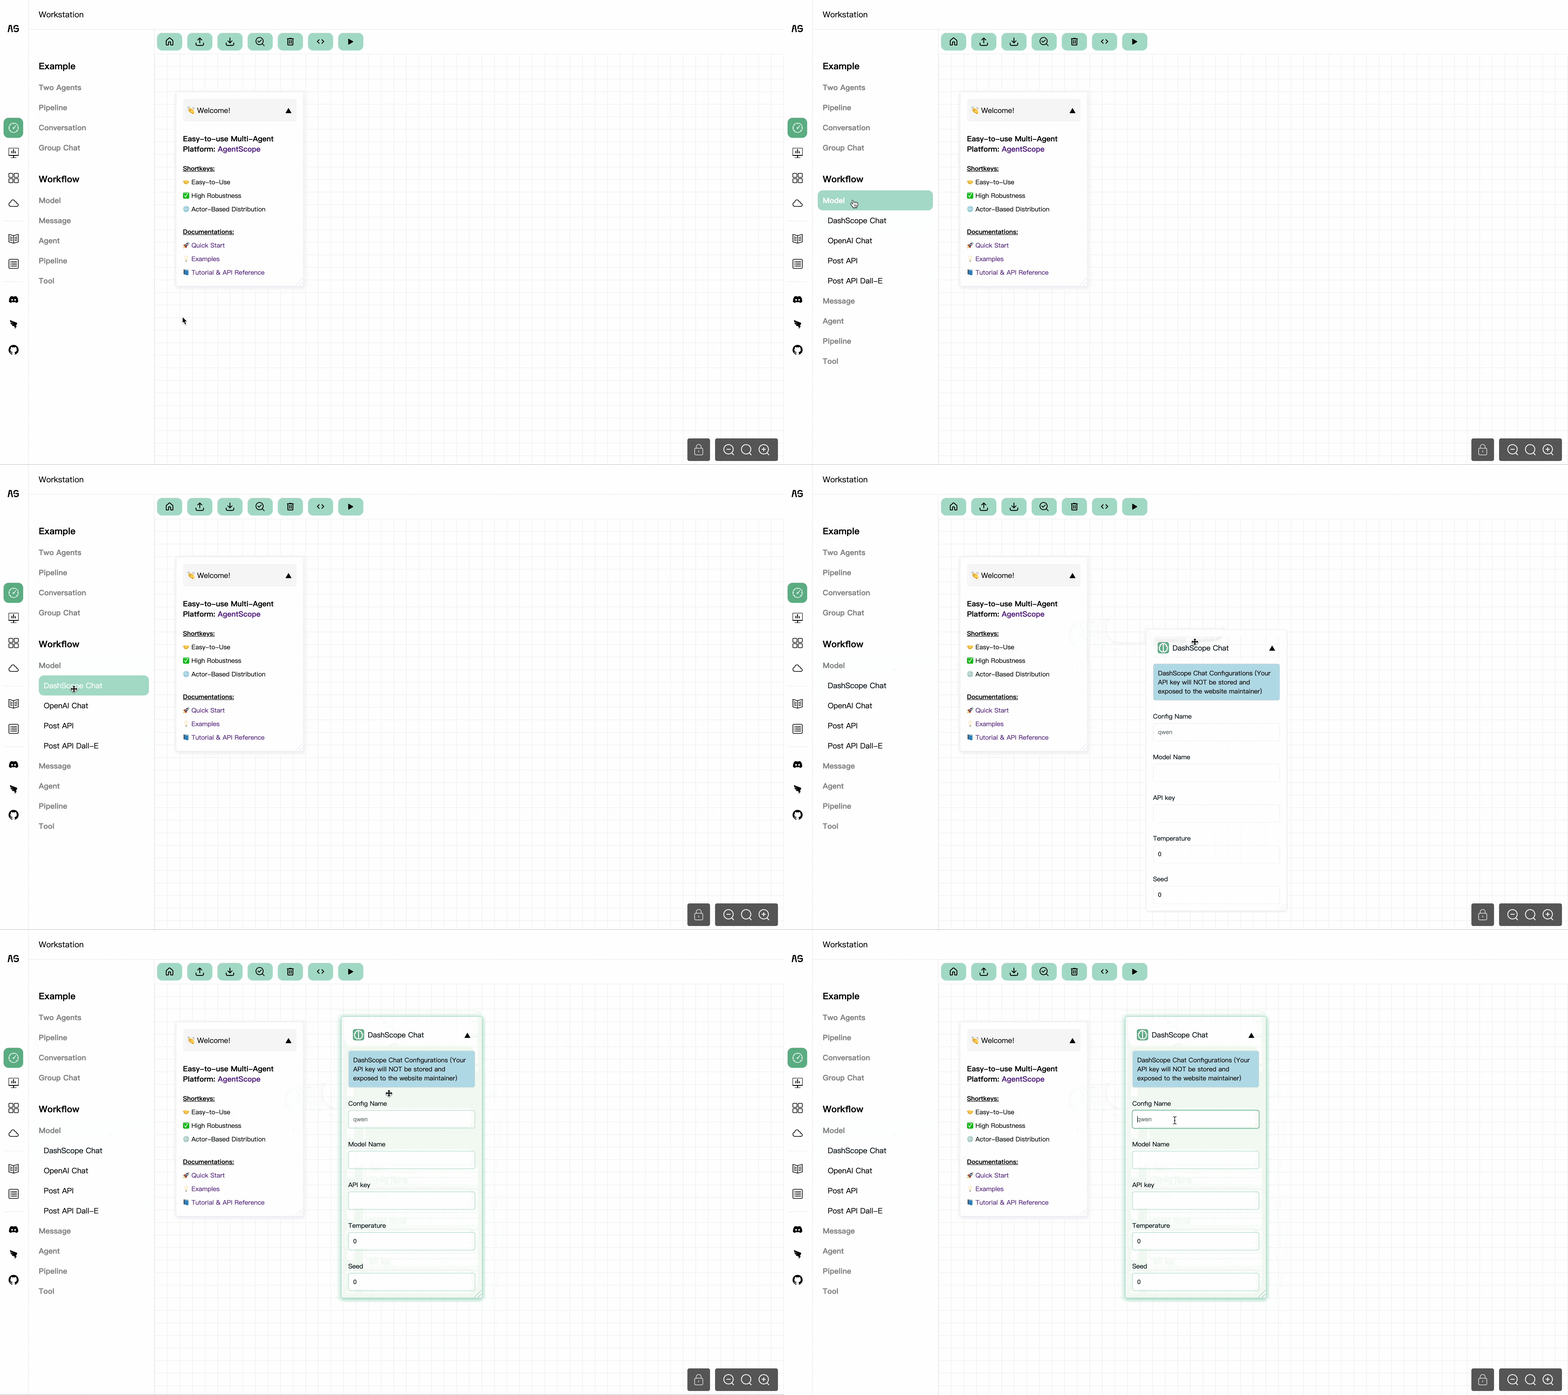
Choose & drag component: Click and drag your chosen component from sidebar into the central workspace area.
Connect nodes: Most nodes come with input and output points. Click on an output point of one component and drag it to an input point of another to create a message flow pipeline. This process allows different nodes to pass messages.
Configure nodes: After dropping your nodes into the workspace, click on any of them to fill in their configuration settings. You can customize the prompts, parameters, and other properties.
Run Your Application
Once the application is built, click on the “Run” button. Before running, the workstation will check your application for any errors. If there are any, you will be prompted to correct them before proceeding. After that, your application will be executed in the same Python environment as the AgentScope Studio, and you can find it in the Dashboard.
Import or Export Your Application
Workstation supports to import and export your application. Click the “Export HTML” or “Export Python” button to generate code that you can distribute to the community or save locally. If you want to convert the exported code to Python, you can compile the JSON configuration to Python code as follows:
# Compile
as_workflow config.json --compile ${YOUR_PYTHON_SCRIPT_NAME}.py
If you want to run your local config directly, you can use the following command:
# Run
as_gradio config.json
Want to edit your application further? Simply click the “Import HTML” button to upload your previously exported HTML code back into the AgentScope Workstation.
Check Your Application
After building your application, you can click the “Check” button to verify the correctness of your application structure. The following checking rules will be performed:
Presence of Model and Agent: Every application must include at least one model node and one agent node.
Single Connection Policy: A component should not have more than one connection for each input.
Mandatory Fields Validation: All required input fields must be populated to ensure that each node has the necessary args to operate correctly.
Consistent Configuration Naming: The ‘Model config name’ used by Agent nodes must correspond to a ‘Config Name’ defined in a Model node.
Proper Node Nesting: Nodes like ReActAgent should only contain the tool nodes. Similarly, Pipeline nodes like IfElsePipeline should contain the correct number of elements (no more than 2), and ForLoopPipeline, WhileLoopPipeline, and MsgHub should follow the one-element-only rule (must be a SequentialPipeline as a child node).
Total running time of the script: (0 minutes 0.000 seconds)