Note
Go to the end to download the full example code.
Visual Interface
AgentScope supports AgentScope Studio and Gradio web visualization, and also supports users to connect to custom or third-party visualization platforms.
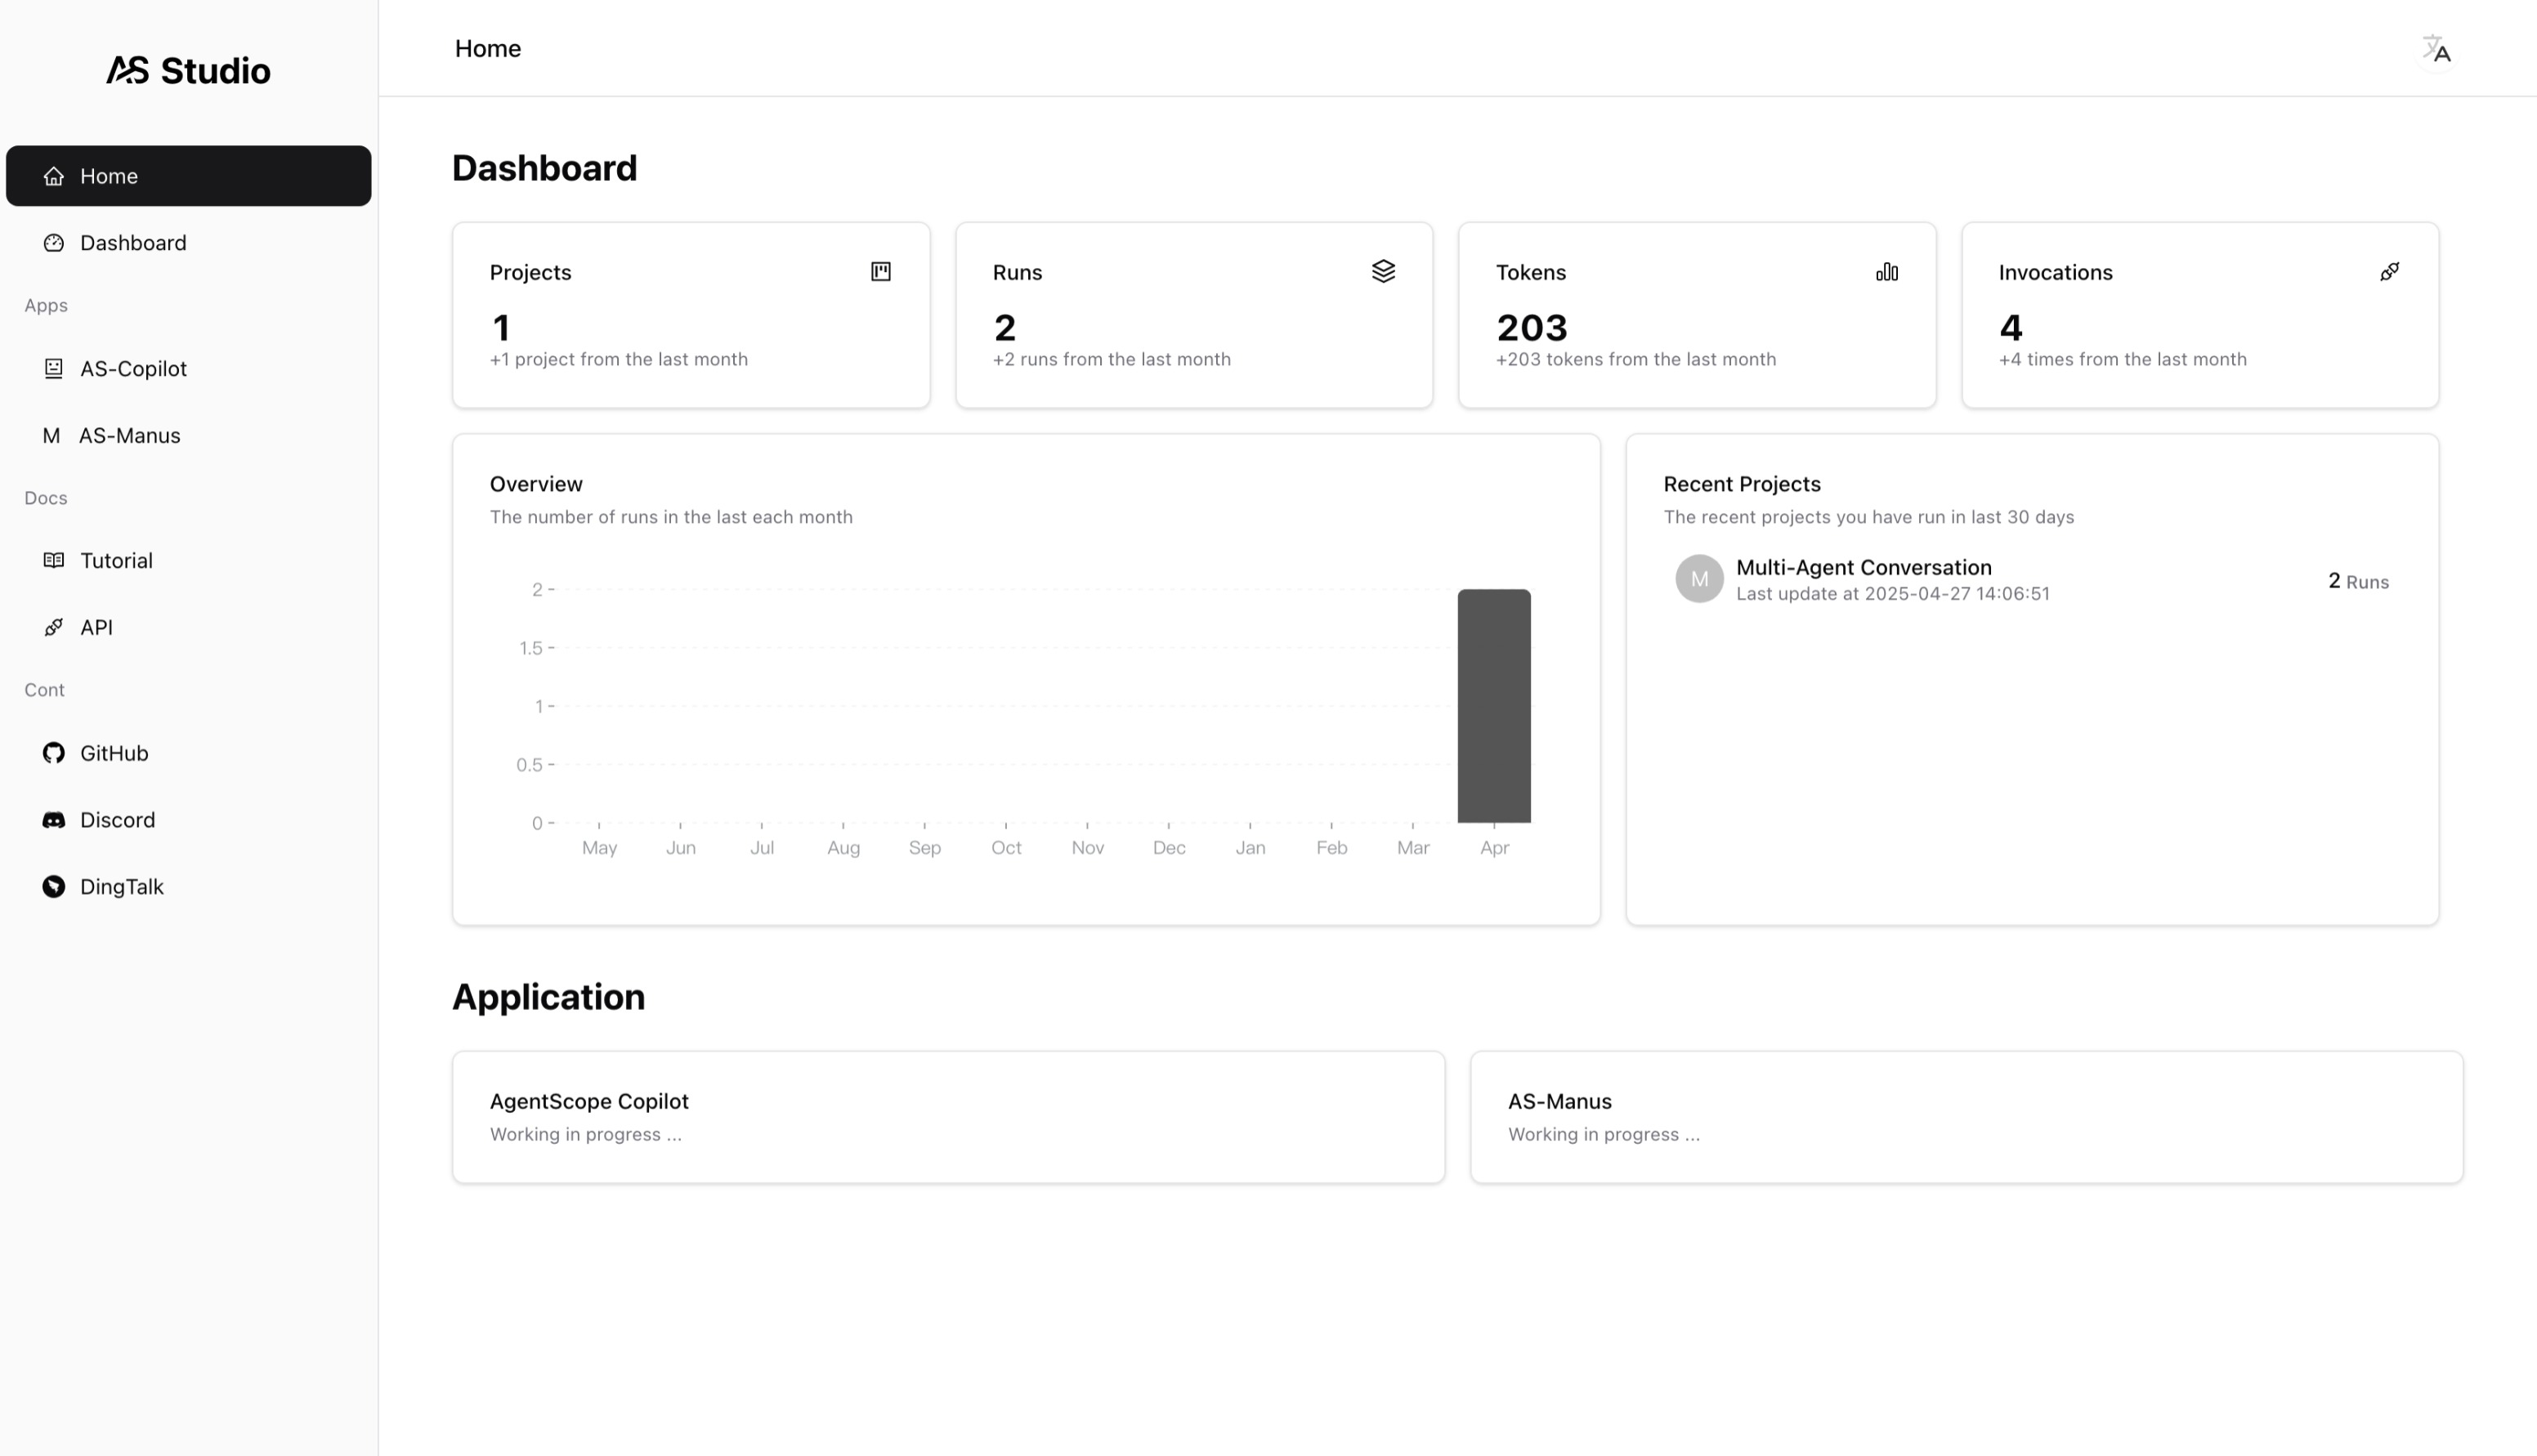
AgentScope Studio
AgentScope Studio is implemented using React (vite) and NodeJS, designed for application visualization and execution monitoring (including API invocation tracking and token usage monitoring).
Note
Currently, AgentScope Studio is under rapid development, with continuous iterations in UI, functionality, and performance. We welcome any feedback, contributions, or suggestions!
Installation
First, you need to install npm.
# MacOS
brew install node

# Ubuntu
sudo apt update
sudo apt install nodejs npm

# For Windows, please visit https://nodejs.org/ for installation
Then, install AgentScope Studio using the following command:
npm install -g @agentscope/studio
Start
Run the following command in the terminal to start AgentScope Studio:
as_studio
Usage
When starting an AgentScope Python program, connect to AgentScope Studio by using the agentscope.init function with the studio_url field.
import agentscope

agentscope.init(
    # ...
    studio_url="https://localhost:3000"  # Replace with your local AgentScope Studio address
)

# ...
Note
Once connected, the messages printed by the speak function of all agent instances will be forwarded to AgentScope Studio. Meanwhile, the input operation of UserAgent in the program will be transferred from the terminal to the Dashboard panel of AgentScope Studio.

The Dashboard panel will organize the applications by the project field passed to the agentscope.init function.
When user input is required, the input button on the dialog interface will prompt for input. When no input is needed, the input button will be disabled.
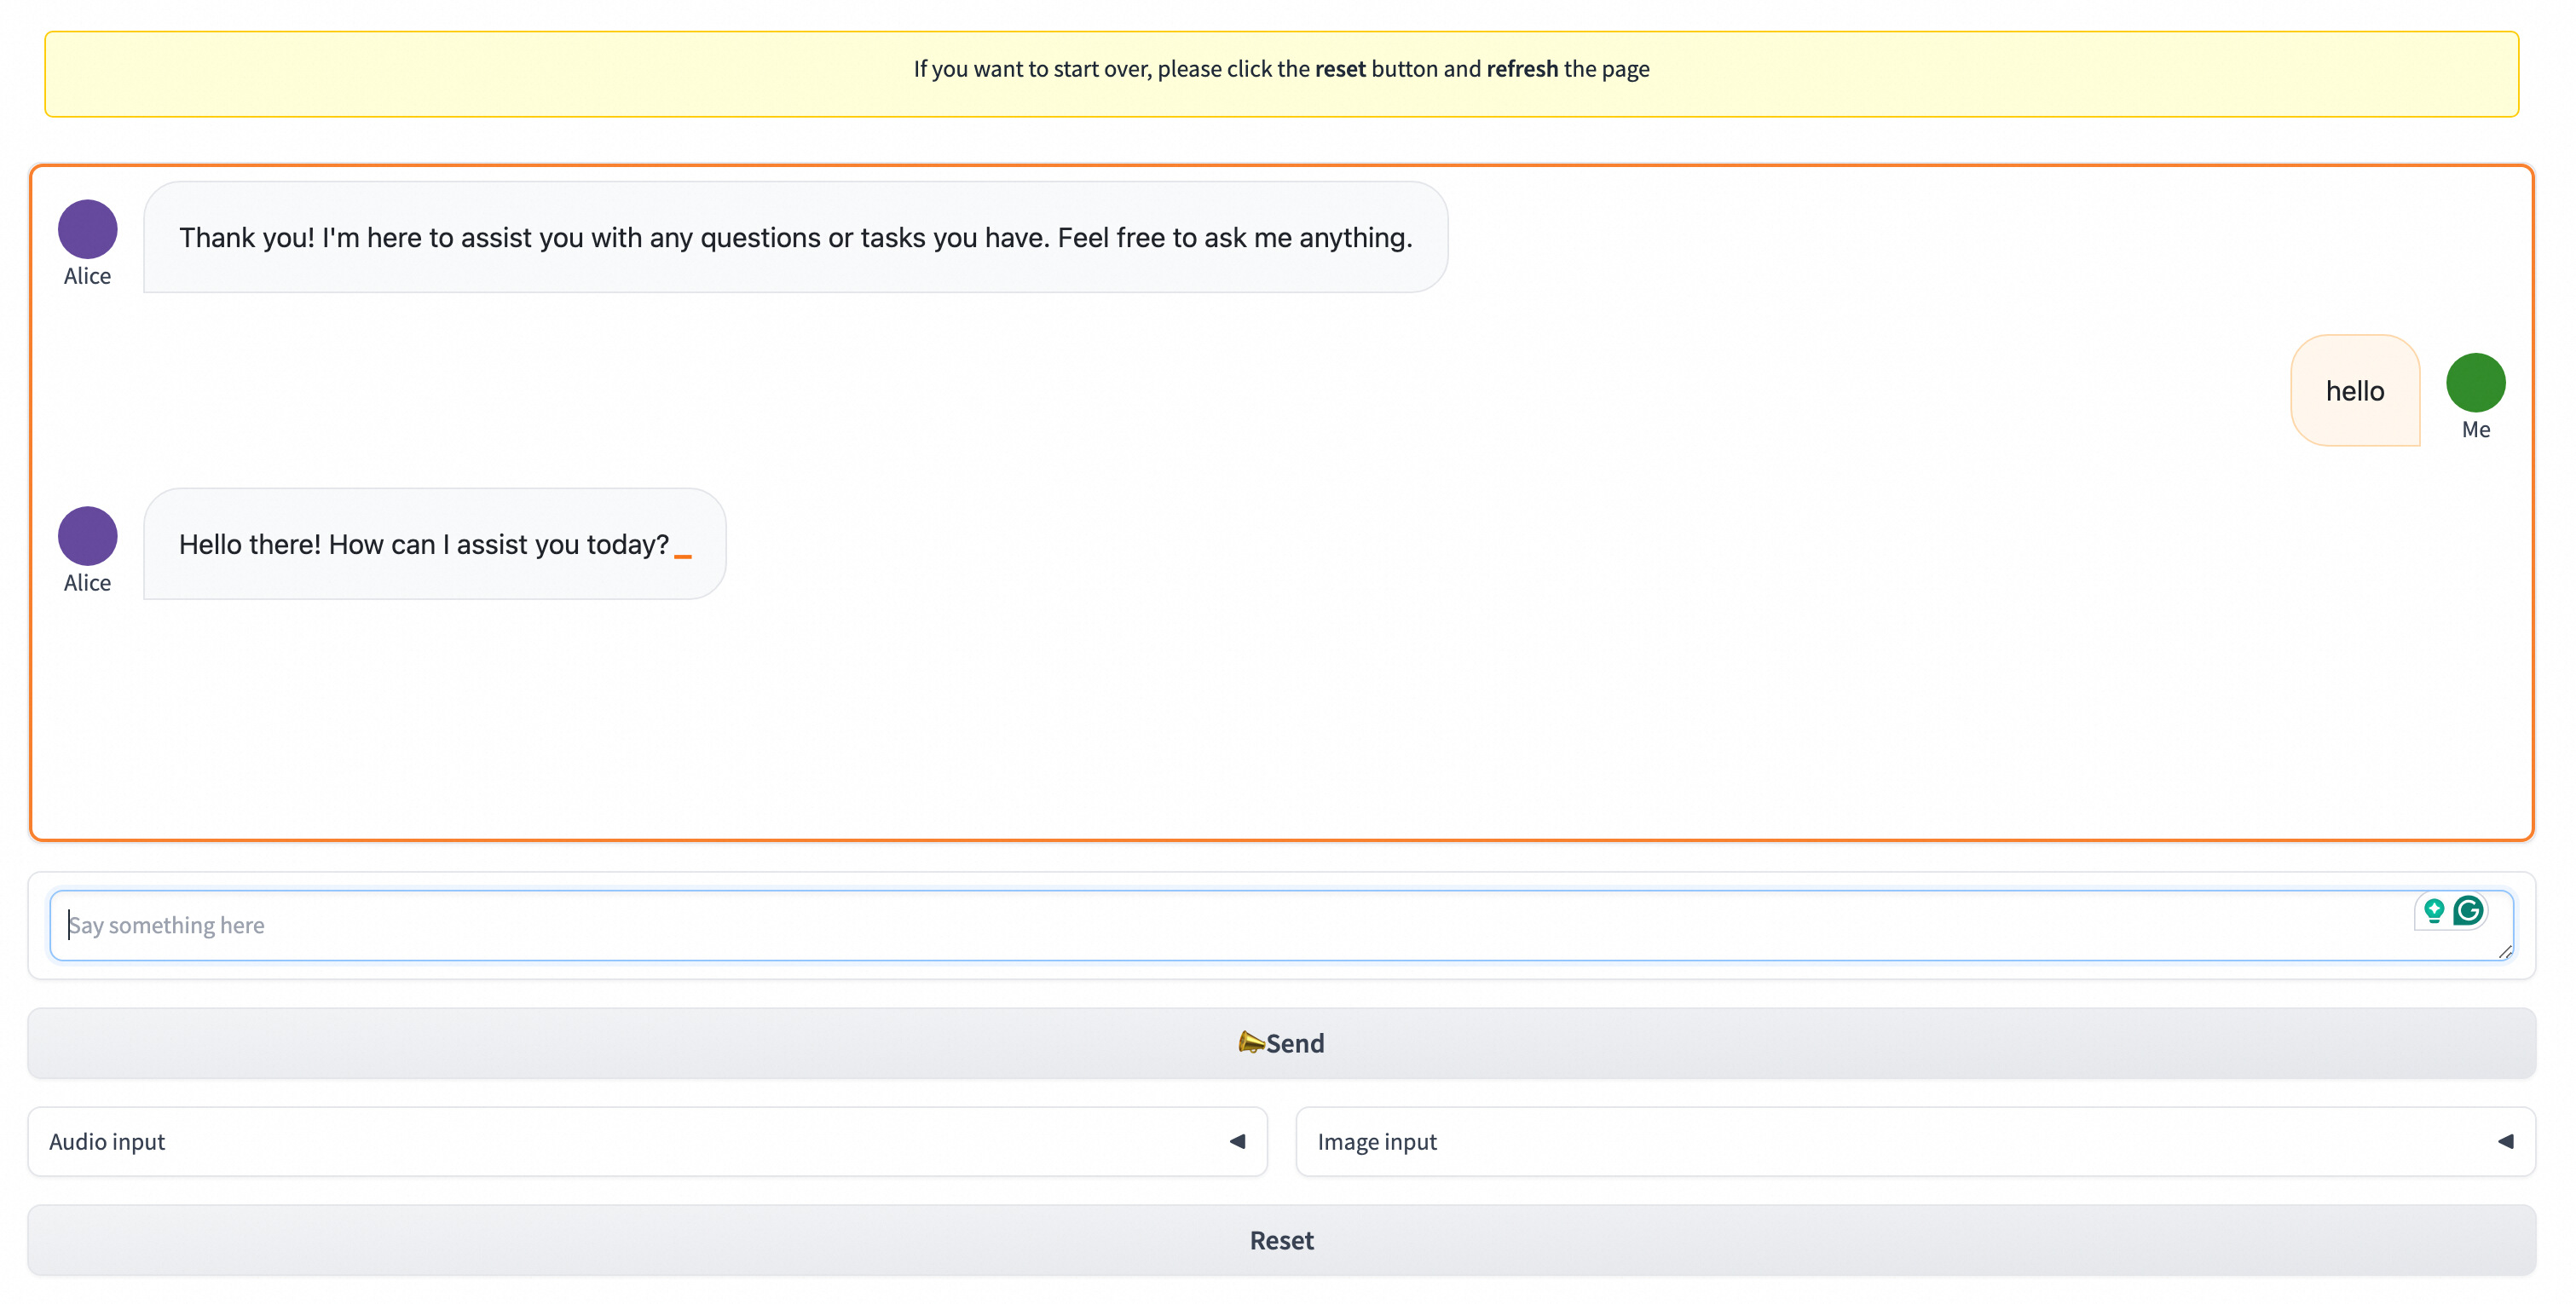
Gradio
First ensure you have installed the full version of AgentScope, which includes the Gradio package.
# From pypi
pip install agentscope[full]

# From source code
cd agentscope
pip install .[full]
After that, ensure your application is wrapped by a main function.
from agentscope.agents import DialogAgent, UserAgent
import agentscope


def main():
    # Your code here
    agentscope.init(model_configs={
        "config_name": "my-qwen-max",
        "model_type": "dashscope_chat",
        "model_name": "qwen-max"
    })

    agent = DialogAgent(
        name="Alice,
        model_config_name="my-qwen-max",
        sys_prompt="You're a helpful assistant named Alice."
    )
    user = UserAgent(agent)

    msg = None
    while True:
        msg = agent(msg)
        msg = user(msg)
        if msg.content == "exit":
            break
Then execute the following command in the terminal to start the Gradio UI:
as_gradio {path_to_your_python_code}
Finally, you can visit the Gradio UI as follows:
Custom Visualization
Custom visualization is consisted of two parts:
Message display: Forward the output printed by the speak function of the agent to the place where it needs to be displayed.
User input: Transfer the input operation in UserAgent to the target platform, so that the user can input from the target platform.
In AgentScope, we implemented them by pre_speak_hook in the agent and override_input_method method in UserAgent (AgentScope Studio and Gradio are implemented in the same way).
First, we build a pre-speak hook function
from pydantic import BaseModel

from agentscope.agents import AgentBase
from agentscope.message import Msg, TextBlock, ImageBlock
from typing import Union, Any, Optional


def pre_speak_hook(
    self: AgentBase,
    msg: Msg,
    stream: bool,
    last: bool,
) -> Union[Msg, None]:
    """The pre speak hook function to forward printing message"""
    # Forward the input message to the place where it needs to be displayed,
    # for example, using requests.post to push the message
    # ...
    return None
Then register the hook function. Note that you can control the scope of the hook function, which can be at the class level or at the instance level
# Class-level registration, all instances of AgentBase and its subclasses will register this hook function
AgentBase.register_class_hook(
    "pre_speak",
    "customized_pre_speak_hook",
    pre_speak_hook,
)
Of course, you can also register it for a specific agent instance
agent = DialogAgent(
    # ...
)
agent.register_hook(
    "pre_speak",
    "customized_pre_speak_hook",
    pre_speak_hook
)
Tip
For more information about hook functions, please refer to the Hooks chapter
To transfer user input, you need to implement a subclass of UserInputBase and implement the __call__ function. This function will be triggered within the reply function of UserAgent, notifying the target visualization platform that user input is needed, and get the actual input from the user.
Tip
You can refer to the implementation of agentscope.agents.TerminalUserInput and agentscope.agents.StudioUserInput in AgentScope
from agentscope.agents import UserInputBase, UserInputData


class CustomizedUserInput(UserInputBase):
    def __call__(
        self,
        agent_id: str,
        agent_name: str,
        *args: Any,
        structured_schema: Optional[BaseModel] = None,
        **kwargs: dict,
    ) -> UserInputData:
        """Inform the target platform that user input is needed and get the
        user input.

        Args:
            agent_id (`str`):
                The ID of the agent.
            agent_name (`str`):
                The name of the agent.
            structured_schema (`Optional[BaseModel]`, defaults to `None`):
                The json schema for required structured input.
        """
        # ...
        return UserInputData(
            blocks_input=[
                # Replace with actual input, which can be text or multimodal input
                TextBlock(type="text", text="Hi!"),
                ImageBlock(type="image", url="http://xxx.png"),
            ],
            structured_input=None,
        )
Then register the input method in UserAgent. Note that this registration will override the default input method TerminalUserInput.
UserAgent.override_class_input_method(
    input_method=CustomizedUserInput()
)
Tip
UserAgent also supports instance and class-level registration, corresponding to override_input_method and override_class_input_method. They will override the input method of the current instance or class respectively.
Total running time of the script: (0 minutes 0.001 seconds)